Photo conversion · About 5 minutes
How to turn a regular photo into an Ultra HDR JPEG
Start with the photo you already have. Give its highlights more room to shine on supported screens, while keeping a standard version inside the same JPEG.
Try your photo in the editorTo convert a regular photo in LumaGain, upload it, choose Entire image or Manual selection, and select Generate Ultra HDR. Review the result, then download the JPEG. Previewing does not require an account; downloading does.
What changes in an Ultra HDR photo?
An Ultra HDR JPEG carries a standard image and a gain map: extra information that a compatible viewer can use to display a brighter version. A viewer without HDR support can show the standard image. That compatibility is useful when the same photo will reach people on different screens.
For the format background, see Android’s Ultra HDR documentation, which explains support and standard-display compatibility.
This conversion is a creative treatment of your existing image. It cannot recover details that were clipped or missing in the original photo. Choose a source that already looks good: clear product detail, readable labels, and highlights with texture are a better starting point than a washed-out image.
The visible difference depends on the display, browser or app, and viewing conditions. The boost setting describes brightness intent; it is not a measurement of how much brighter every viewer will see the photo.
From your original photo to one JPEG
1. Upload your source
Open the LumaGain editor and upload a JPEG, PNG, WebP, HEIC, or HEIF up to 20 MB. Use your original file when possible. A screenshot may already have lost useful detail or HDR information.
2. Choose where it should shine
Under Creative direction, use Entire image for a treatment across the photo. Choose Manual selection to paint the areas you want to brighten. For product photography, start with a small, meaningful area: the edge of a metal can, the reflection on glass, or a highlight on glossy packaging.
Avoid selecting every bright surface automatically. A large backdrop can compete with the product. Check the selection around fine edges and lettering so the treatment supports the subject you want people to notice.
3. Generate and adjust
Select Generate Ultra HDR. If you want to change the strength, open Advanced controls and adjust Maximum boost. The control runs from 1× to 4×; the initial setting is 1.5×. Start there, compare the result, and regenerate after changing your settings.
A stronger number is not automatically a better image. Inspect small reflections and the balance between the product and its background. If the photo feels too broad or intense, reduce the boost or return to a smaller manual selection.
4. Download the actual JPEG
Select Download free with watermark and complete the account step. Free accounts can download five watermarked exports every 24 hours. Pro provides clean exports; the download options explain the upgrade. Check the current plan details before choosing.
Save the downloaded JPEG itself. Taking a screenshot of the preview is not an equivalent export. Keep your original photo too, so you can make a different selection later.
A worked selection idea: citrus, ice, and a silver can
Look at our existing LumaGain campaign image below. The silver can, ice, and water droplets give you several places to try the treatment. The blue and yellow background gives you a useful reference for judging whether the subject still leads the composition.
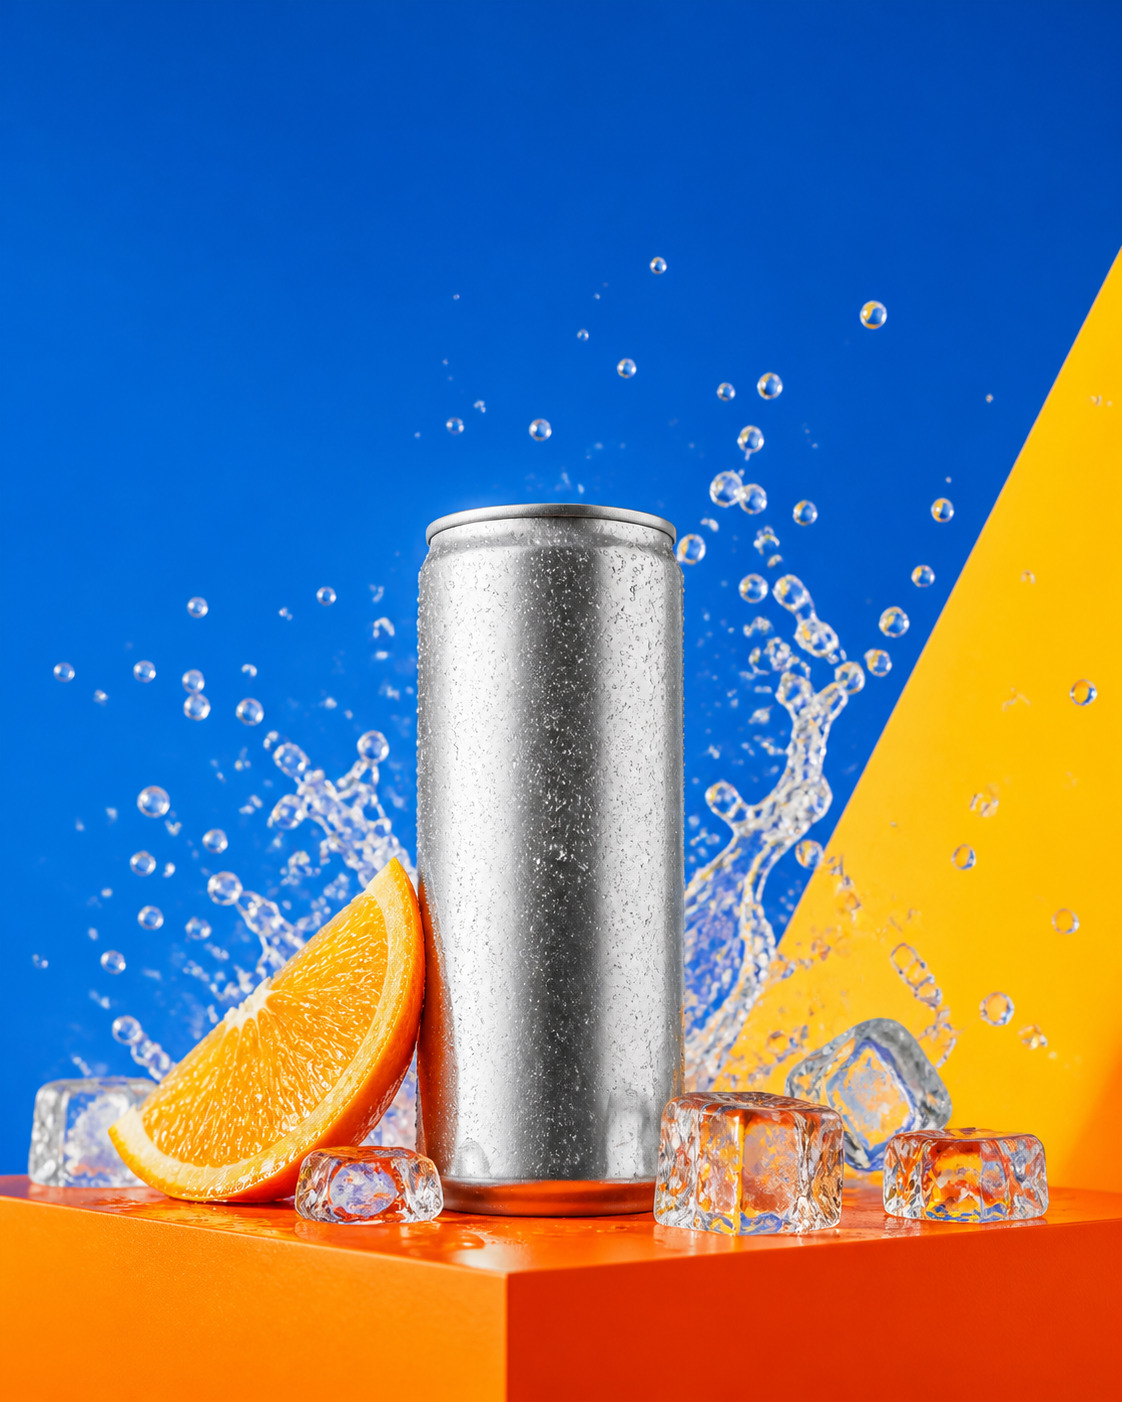
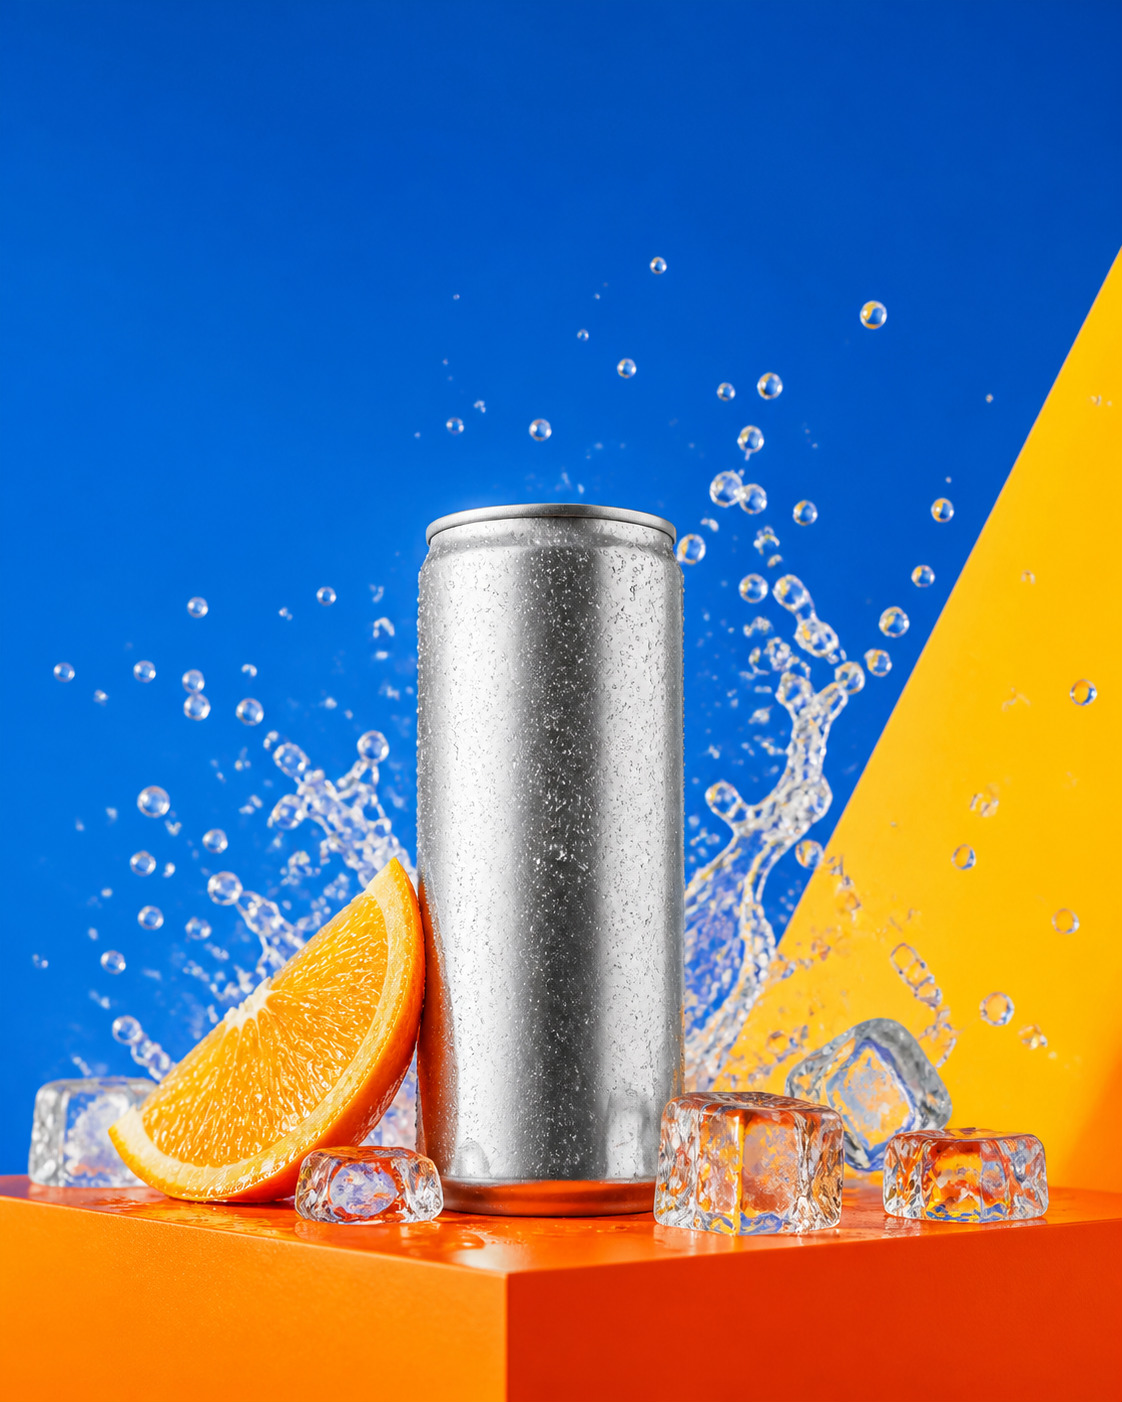
The same campaign image, with and without the HDR treatment. On a viewer without HDR support, these may look similar.
To try a repeatable exercise, download the standard example and upload it. Choose Manual selection, paint a narrow reflection along the can and a few ice highlights, and leave the color-block background unpainted. Keep Maximum boost at 1.5× for the first generation.
Then try 2× with the same selection. Compare the two downloaded files in the same viewer, at the same display brightness. Pick the version whose highlights help the product stand out without dominating it. Use this exercise to find settings that suit your own photo.
Check the file where people will see it
- Check your viewing setup. Open the screen check. A browser capability signal is a useful clue, but does not establish how another app will display your file.
- Open the original export. If a preview looks ordinary, compare the downloaded JPEG before assuming the conversion failed.
- Check the destination. Upload a test through your intended sharing path and inspect that result. A platform may process the file differently from your local viewer.
- Keep the standard appearance useful. The product, colors, and message should still work when the extra brightness is unavailable.
There is no universal promise that a social upload, paid placement, or recipient device will preserve and display the HDR effect. If you cannot verify the destination on a supported device, describe it as an Ultra HDR file and leave its visible brightness unconfirmed.
Your turn
Start with one highlight.
Choose a photo with a clear subject, make a restrained first version, and check it before sharing.
Convert your photo